Nothing says summer like the smell of a cookout. But even the most avid home cooks often struggle when it comes to grilling. Who hasn’t eaten a dry burger, an overcooked steak, or a charred-beyond-recognition veggie skewer at a backyard BBQ? That’s why we’re helping you up your grilling game with these tips from some talented North Shore chefs: Jay Murray, “head cooker guy” at Ellis Square Social in Beverly; Amanda Howell, executive chef at The Blue Ox in Lynn; Nick Yebba Jr., executive chef and partner for Teresa’s Hospitality Group; and Justin Quam, executive chef at Dal Maré in Beverly Farms.
Four Steps to Great Flavor
1. Flavor before grilling:
Salt your meat an hour or more before cooking. “Pepper and whatever else can wait until the last minute, but you want the salt to bring moisture to the meat’s surface to get the best flavor out of the fire,” says Murray.
The same rule applies to marinades, brines and dry rubs. Quam shoots for letting meats like beef, chicken, and pork marinate one to three days. If there’s a store-bought marinade you like (including your favorite salad dressing), you can go with that, but it’s also easy to make your own. “You can do whatever you want with marinade,” Quam says, with a simple set of guidelines: Use something acidic, juicy, and sugar/salt. Experiment with things like vinegar, orange juice, white or brown sugar, and salt.
Howell recommends brining white meat chicken or pork, which helps to keep everything moist and incorporates flavor. Use a ratio of one cup of salt to one gallon of water and ½ cup of sugar. “I think the sugar adds a nice little sweetness to it,” she says. From there, you can add other flavors like maple or your favorite herbs. If you brine with something like beer, always add water, too, so you don’t get overwhelmed by the flavor.
For something like a ribeye, try covering it with a dry rub the night before grilling, Howell says. For fish, she likes something lighter, like simple salt and pepper and light glazes like a miso glaze.
When it comes to fish and shellfish, Murray favors a marinade. “Nothing too crazy, usually just something like olive oil, lemon zest and garlic, unless I’m going for a specific cultural flavor,” he says.
2. Get basting:
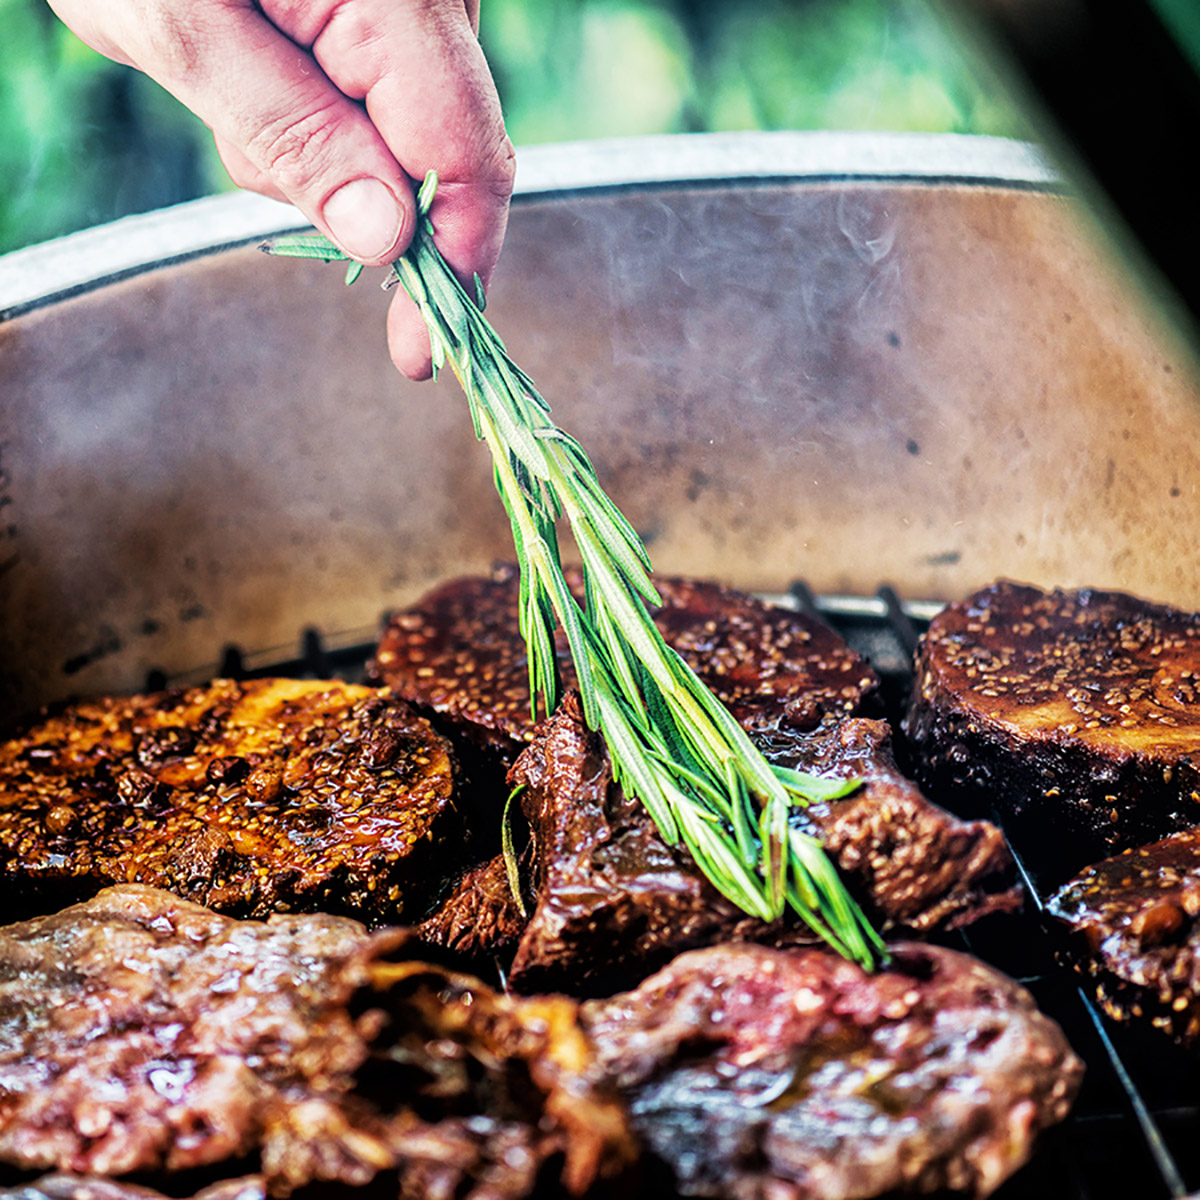
Basting your meat during cooking is great for flavor and moistness. “I like to make a basting brush out of fresh herbs tied with butcher’s twine such as rosemary and thyme, good-quality olive oil, and fresh garlic,” says Yebba.
You can also baste with beer and melted butter, says Quam. “Cook with what you drink,” he says. The general rule is “the lighter the meat, the lighter the beer.” Chicken calls for “a cheap light beer and butter.” Try a brown ale, butter, and garlic powder for pork. You can baste your hamburger (melted butter is a good bet here); just sear the outside first and baste at the end.
3. Respect and rest:
Meat should be treated with respect: “Flip once and don’t poke,” says Yebba. Also, remember that meat continues to cook even after it’s been removed from the heat. For instance, Quam says you can pull chicken or pork about 10 degrees less than your target temperature. Wrap it in foil and let it continue cooking with its own radiant heat.
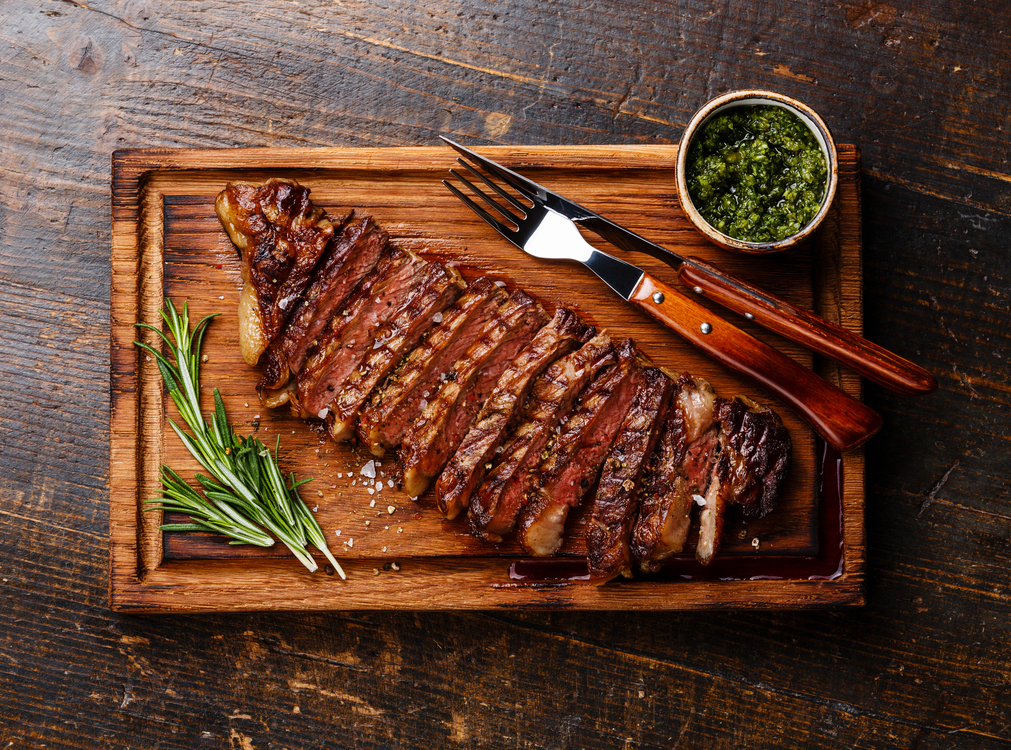
When it comes to grilled steaks, take them “off the grill between 125-128 degrees internal temperature,” says Murray. “Then they should rest at room temperature for at least five minutes.”
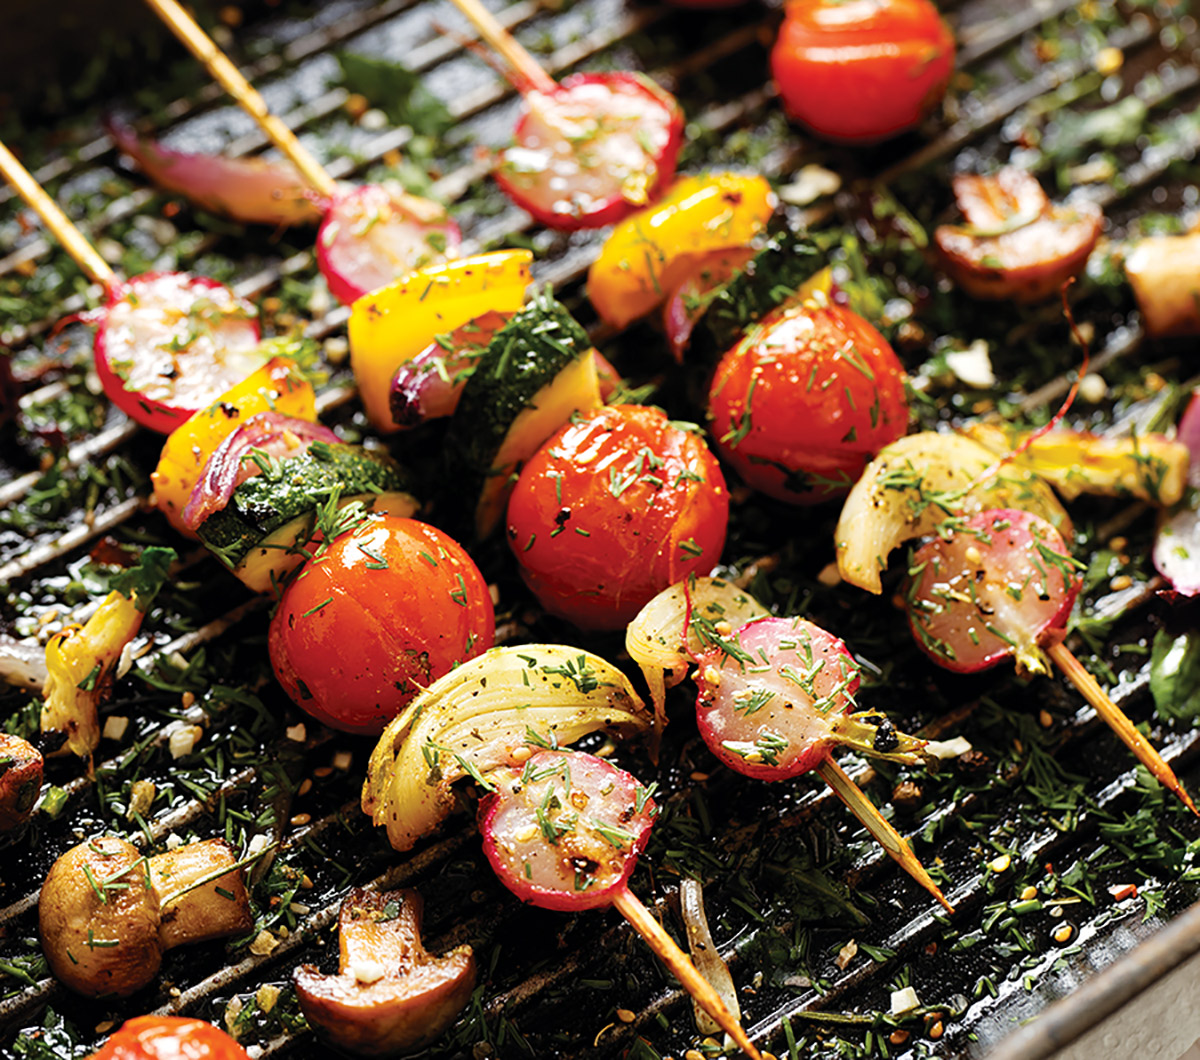
4. Think outside the steak:
Experiment with grilling foods like cauliflower cross sections, napa cabbage, scallions, potato slices, and romaine lettuce, Murray says.
Grill Maintenance 101
from Amanda Howell and Nick Yebba
• Preheat your grill before cooking and brush
debris away.
• Oil your grill grates before placing the food onto it. Use a rag tied with butcher’s twine and soaked (but not dripping) with vegetable oil and rub the rag onto the grill grates with tongs.
• After grilling is done, turn up the heat, let everything burn off and brush it. Cleaning it now will prevent your food sticking later. Also, clean out the grease trap.
• If a grease fire erupts, don’t use water to douse the flames; instead try baking soda or salt.
The Gear and the Grilling
5 things to remember
“Don’t be embarrassed to use a meat thermometer…meat is an investment, so treat it like one.”
—Jay Murray
“There’s one thing people don’t realize about thermometers. You have to put them in a lot further than you realize.”
—Justin Quam
“If you have a gas grill, you could try a smoker box, also readily available, right in the grill grates, in which you would place soaked wood chips and cover the grill to get the full effect.”—Jay Murray
Grill using different heat zones. A hot fire provides an initial sear, whereas the cooler area provides slow and steady cooking the rest of the way. Move your food from zone to zone as you cook.
Keep your grill clean!