Photos by Roman Frustaci
Contouring is everywhere, we see it on celebrities, reality TV stars and in a multitude of do-it-yourself kits available in beauty stores worldwide. But purchasing a kit and knowing how to properly contour are two distinct things. When executed correctly, contouring adds dimension to your face and makes features appear more defined. Hello, cheekbones! When done incorrectly, well, it’s not a look many people desire.
David Nicholas is the owner of Boston based David Nicholas International and a makeup artist with over thirty years of experience, so you better believe he’s who I turned to for a contour how-to (say that five times fast!)
At his stunning studio in downtown Andover, Nicholas walked me through how to contour my own face, while at the same time reminding me it’s not a one size fits all process.
.jpg)
Start of contour cream application
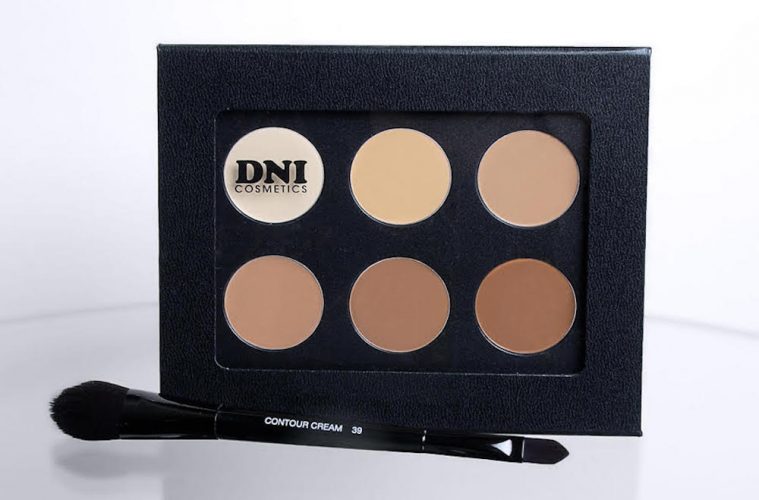
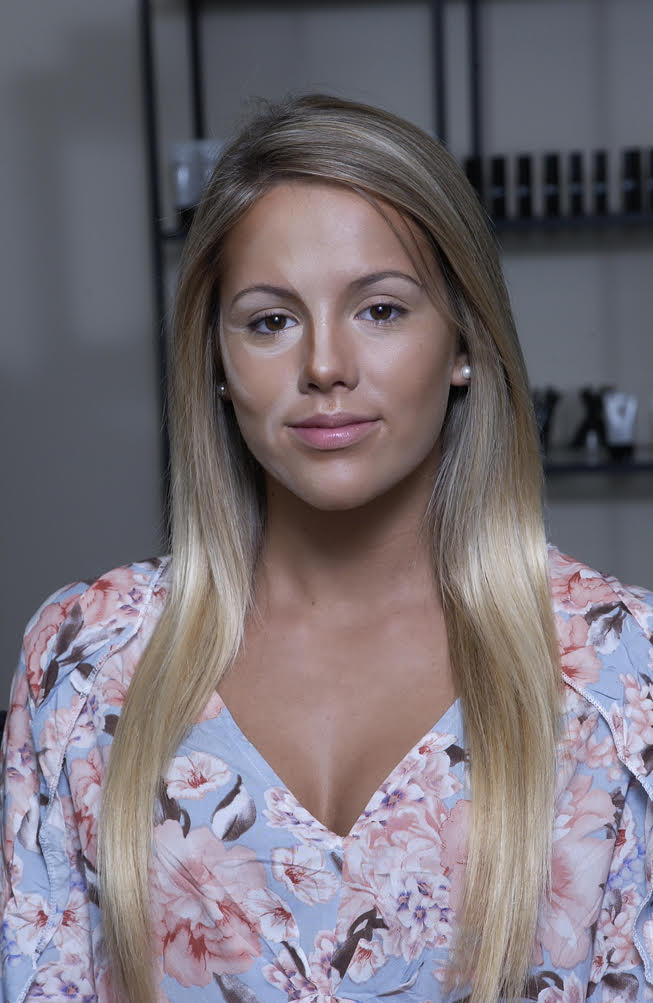
A common misconception when it comes to contour makeup is that it requires a lot of prep work. Nicholas says this just isn’t so. As seen here on Kristen (DNI client graciously turned model for this shoot) a lot of prep work isn’t necessary. Before applying contour makeup, you can use as little as “a tinted moisturizer or the foundation of your choice,” says Nicholas. DNI’s contour kit comes with six colors ranging in shades from light to dark. How much to contour depends upon the look you want to achieve, explains Nicholas. For example, for a natural look choose one shade lighter or darker than your skin tone. The lighter color will be for highlighting and the darker color for contouring.
In the DNI contour kit pictured above, you would select a color from the top row and use that and the color directly below it as your highlighting and contour shades. Nicholas recommends blending the contour cream with a beauty blender rather than a regular sponge. Because the blender is edgeless, you don’t have to worry about any lines of demarcation when blending.
Where to contour? According to Nicholas the three most crucial places to contour are the temple, cheeks and jaw. As seen here on model Kristen, it is best to create contour with stripes rather than dots of color, because stripes will blend evenly whereas dots don’t allow for even color distribution. After blending contour makeup, you have the option of completing the look with touches of concealer as needed, as well as a bronzer or highlighter.
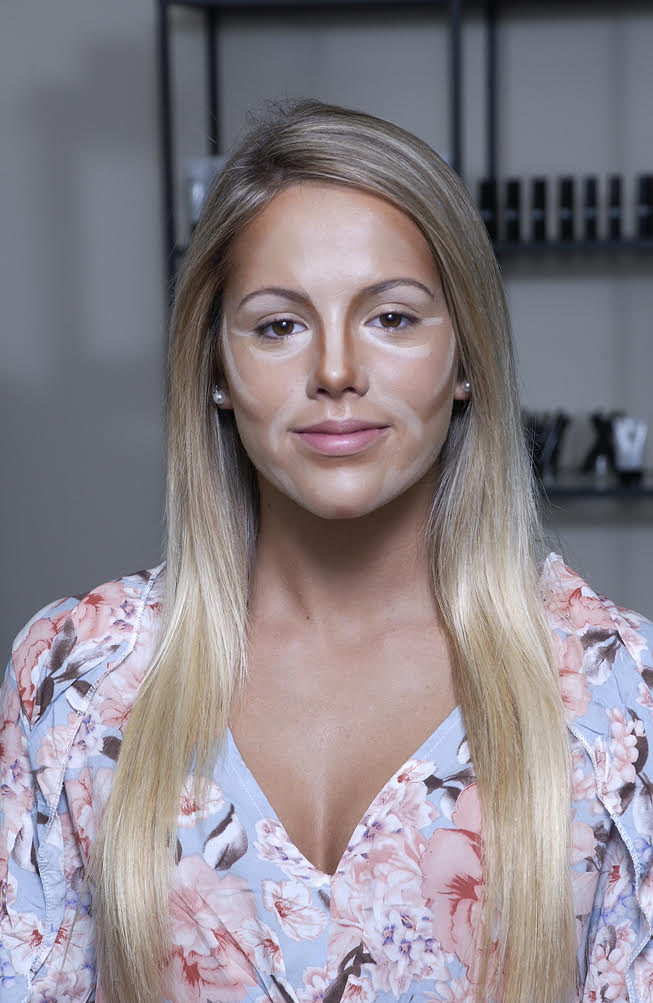
Contour cream application prior to blending
Contouring isn’t limited to a certain age group, for older clients the key is to “keep glow focused” and not to overdo it, says Nicholas.
When it comes to which products to use, the options abound but you would be well served by Nicholas’ own line at David Nicholas International. In addition to the contour kit, the new collection has lip stains in eight shades, a powder illuminator in three shades and baked bronzing powders that add natural radiance and luminosity without looking fake or orange.
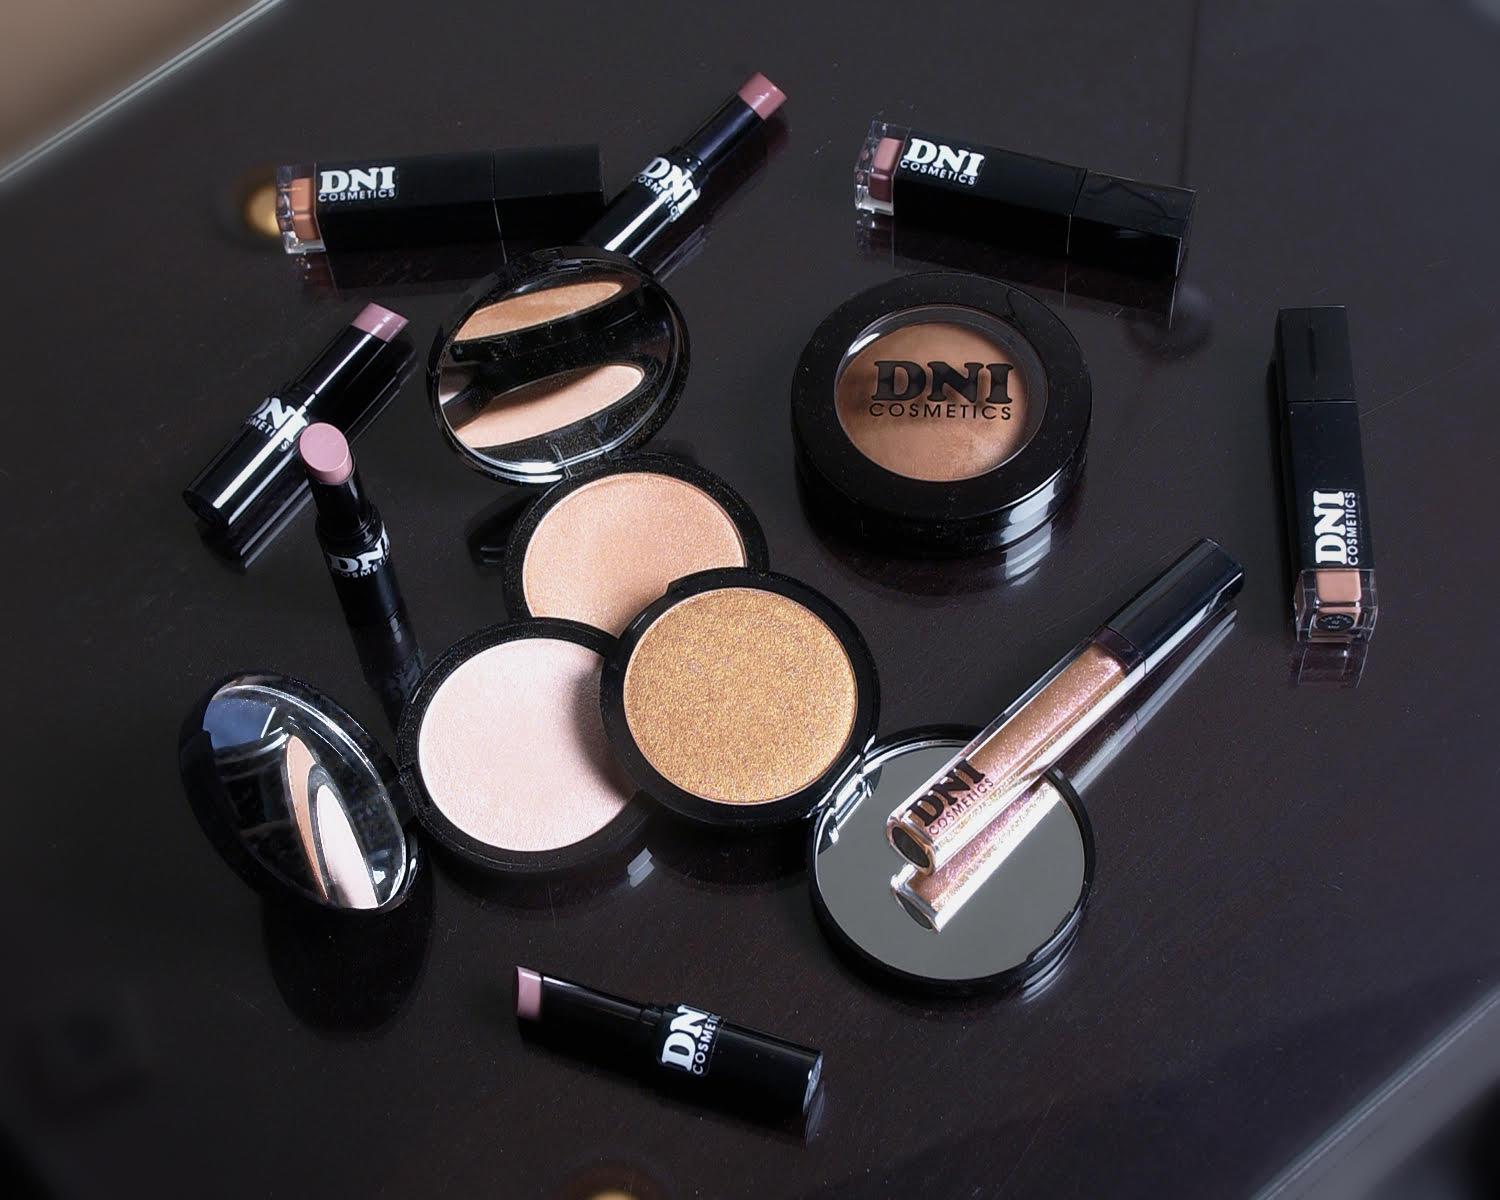
DNI Lips and Bronzers
Contour makeup is certainly having a moment, but Nicholas has seen it all during his decades long career, and while makeup trends come and go, one thing that remains is his make-up philosophy. Nicholas believes makeup isn’t about looking younger or reversing the hands of time but about “creating makeup for the individual and expressing who they are,” for whatever stage of life a person is in.
Blending the contour cream
He enjoys tailoring makeup routines to each client’s comfort zone, while taking care to expand their horizons with a new lip stain or pumping up their lashes with DNI’s XLXL mascara (which is amazing).
DNI works by appointment only and once you see what contouring can do for you, you won’t want to go without it. They are also masters at eyebrow shaping. So, what are you waiting for?
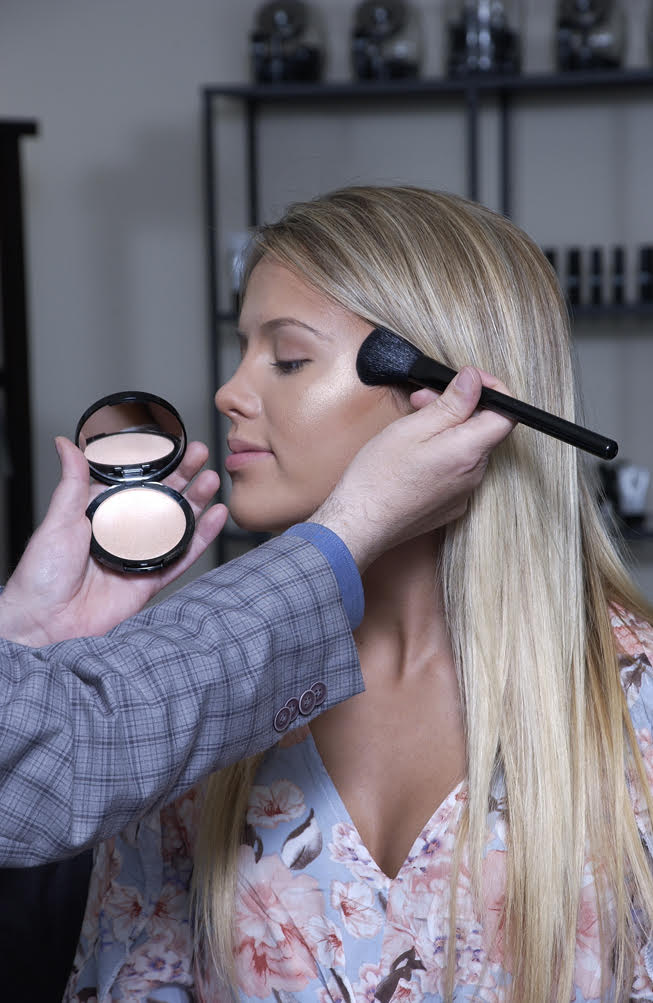
Post contour finishing touches